Tag Archives: blender

Using Geographic Information Systems (GIS) in Blender

I am looking at the different options for getting GIS data into Blender and my perceived Pros and Cons of each.

Geographic Information Systems (GIS)

Links to different Blender Add-Ons involving the use of GIS (Geographic Information Systems) Data.

Overall, my preference is for BlenderGIS as it gives me the terrain with satellite imagery, and markers (ie cubes) for each of the buildings.

Roof Tiles in Blender

I’ve been playing with Blender’s Geometry Nodes for the last month to develop node sets for creating 3D prints and animations. Artisans of Vaul has an excellent tutorial on using geometry nodes to create Roof Tiles (See below).

Roof Tiles Using Instancing and Geometry Nodes – Designing a Fantasy Building for 3D Printing (by Artisans of Vaul)
My Adjustment to the Node Tree

The Breakdown

The only annoyance I have with the setup is the tiles sticking out over the edge. So I’ve adjusted the node tree to have a way to resize the end tiles.

In the image below, I grab the node that is the (X Tile Size + Tile Gap), then divide it by two. This gives me a half-tile size.

In the image below is the node cluster that selects the first tile of row 1, and the last tile of row 2, then repeated for each row.

In the image below the ‘Or’ (from above) to select the end tiles and scale them to 0.5 in the X direction.

Then the first tile of row 1 is moved over half a tile towards the centre, and the last tile of row 2 is moved over half a tile in the other direction.

The Blend File

Blender Camera-Notes

Part of moving my projects over Blender 2.83 LTS is collecting my notes on various topics, including cameras.

5 cool camera tricks in Blender 2.80, this covers some cool stuff. However, I’ll have to manual set up the cameras until isocam gets updated.

Isometric Camera

From the Isocam script:

  • The one, TrueIsocam called camera, is the mathematical correct isometric camera with the 54.736 rotation to get the 30 degrees angles at the sides of the rhombus. (54.736,0,45)
  • The other, GameIsocam called camera, is a camera with which you can render isometric tiles for a 2d game. Here we need a 60 degrees angle instead of the 54.736 one to get a proper stairs effect and a ratio of 2:1 (60,0,45)
  • Then there is the special case with a 4:3 ratio, which is button 3. You can also make 2D games with that one. The view is more topdown though as with a 2:1 ratio of the traditional game iso view. (41.5,0,45)

It’s worth noting that for TrueIsoCam, the X-Rotation Slot can be set to ( atan( sqrt(2) ) ) degrees.

Using Isometeric Cameras in Blender

Settings for a Isometric Cameras in Blender, adapted from
Daring Dino’s video Creating Isometric Cameras in Blender.

Setting up the camera this way requires that it is set to Orthographic with the rotation adjusted 54.736, 0, 45 (X, Y, Z). The XYZ coordinates can be anywhere to set up a good shot.

  • True Isometric Camera. X rotation: 54.736, Y: 0, Z: 45
  • Game Isometric Camera: XYZ (60, 0, 45).
  • Game 4to3 Isometric Camera: XYZ (40.5, 0, 45).

I’ve also noticed that if the Z-rotation is shifted +-90 to (45, 135, 225, or 315), it still maintains an isometric view, but from a different side.

Sci-fi floor tiles

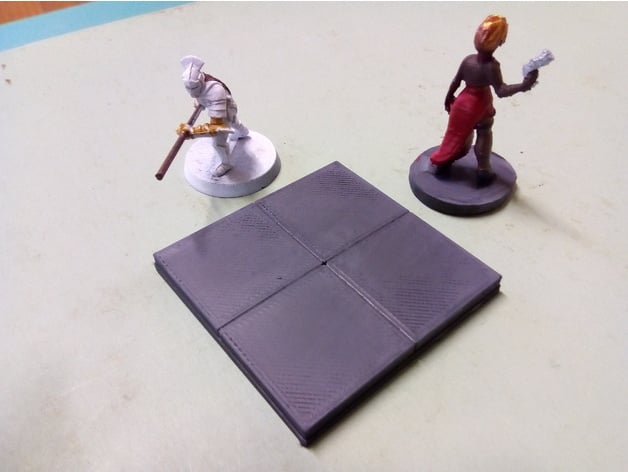
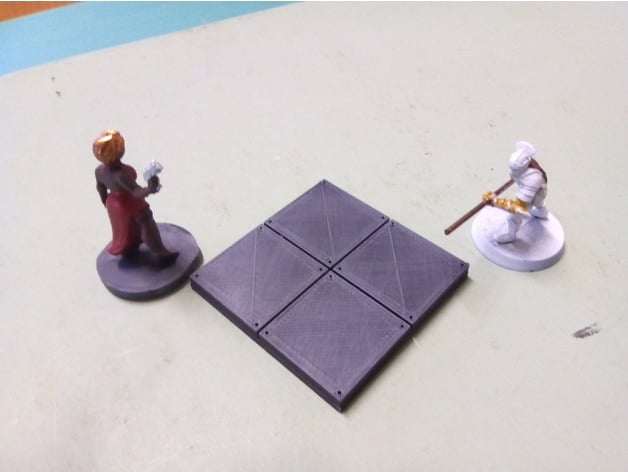
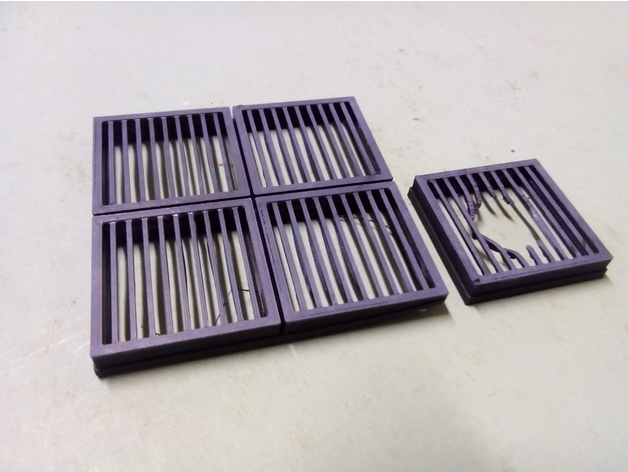
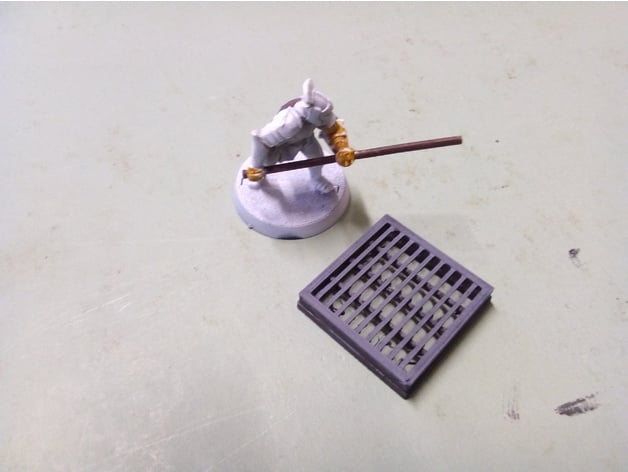
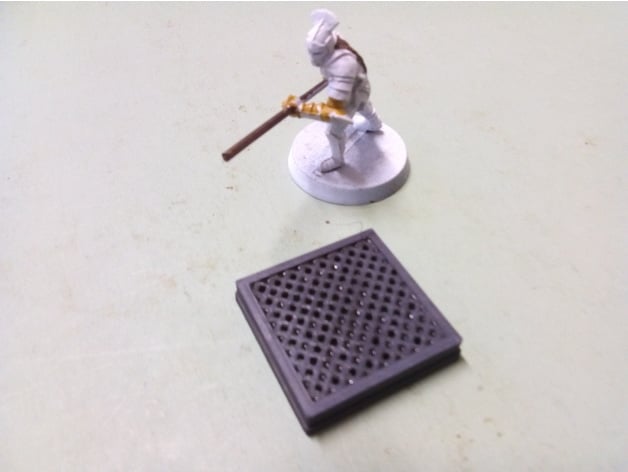
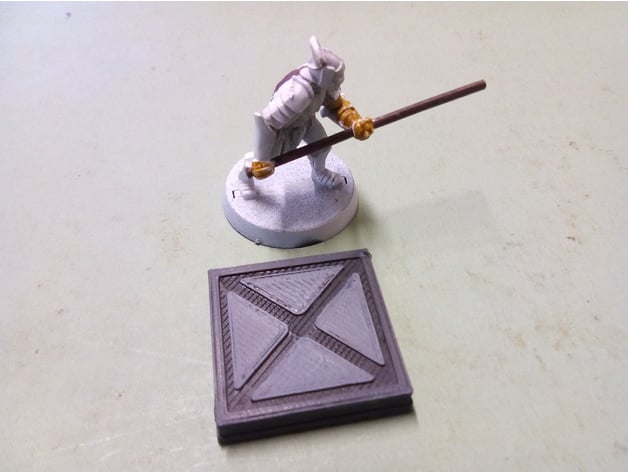
A few years ago, I was working on a set of science fiction themed floor tiles with the idea of releasing them on Shapeways. However, I was not happy with the design as the legs of the pieces snapped off quickly pointing to a flaw in the design. It’s one that could be easily fixed, but the time lag and cost of iterating the design would have been prohibitive. So with other priorities pressing in, I let it slide to the back burner.

Now, just recently I get my first 3D Printer and have been looking as Devon Jones’ designs on Thingiverse. The Terrain tiles and miniatures that he and others have created is truly inspiring, and I’ve been bitten by the 3D design bug again. So, I pulled out some old designs I did in Blender and reworked them to improve the design and create a set of sci-fi dungeon tiles that I could use with Cyberpunk, Shadowrun, Infinity, or Starfinder.

The first was a set of plain tiles, to use as a template for the other designs. Then I took the designs for an age ago and tweaked them to suit the printer.


Pixar’s RenderMan is free

Pixar have made RenderMan free for Non-Commerical use and have dropped the prices on their amazing render engine. NoFilmSchool have a good overview of the opportunity, to Hone Your VFX Skills for Free. The thing I find interesting is that it’s not really free, since you are investing time in their render engine as apposed to other renders. However, it does provide the opportunity to access RenderMan and build up a demo reel.

Animation Testing with Blender

As part of working with the Blender 3D animation software I need to find out the details how some aspects are showing. For example ; I want an easy way of doing a cross section, I thought that I fake the effect by using the camera’s clipping distance. So I build a simple scene with four cubes one for each of the four material types.

The goal was a non-destructive way of doing cross-sections of objects, and it didn’t work the way I wanted. However, it does provide me with more info on how blender does things and gives me an animation technique that I can use elsewhere.

Review of Blender for 3D Printing

Having a keen interest in 3D Printing and teaching Blender in a high school for my day job, I couldn’t resist getting the DVD, Blender for 3D Printing. In fact I downloaded it immediately instead of waiting for the physical DVD to arrive. With most of these tutorial or training DVDs, I tend to be disappointed with the presentation style of watching someone work through a single project in real time without a break, which I find very boring and frustrating because I want to skip a head, but on the other hand I’m worried I’ll miss something useful.

So with this in mind, I found that best bit of this DVD was the style of presentation. The presenter, Dolf (Macouno) Veenvliet, provided concise explanations and easy examples of how to apply that idea. This allows me to view a section to understand the content or review it to reinforce an idea. Also where most training DVDs are purely screen capture this combined that with a view of Macouno working, in which he would turn to the camera and discuss a concept, before using Blender to demonstrate it.

The section on Checks and Fixes provides an excellent overview of the new 3D printing tools in Blender 2.67 and it makes the DVD worth purchasing on it’s own. The previous section on Colouring Models is also high quality and informative. The final section on Making Sintel Printable gives you a summary of the process followed without the many hours the how it was done video, and the final version is available on shapeways.

Overall, I think that this would not suit an absolute beginner, but someone with a little experience in using the software and wanting to gain knowledge for entry into the 3D printing market or just to make some cool stuff, because the focus is 3D Printing and he simply high-lights effective tools and techniques in that direction. For example; in the Using Modifier’s section he does gives a brief outline of the four types of modifiers and then focuses on the two or three that are useful in 3D Printing.