Category Archives: Notes to self

Private notes to myself about useful resources

Review: So you want to be a Game Master by Justin Alexander

The Alexandrian’s blog is an excellent resource for anyone who wants to run a game regardless of genre or system. The sections on Gamemastery 101, RPG Scenarios, or RPG Cheat Sheets are worth the deep dive. And Justin Alexander has collected this wisdom into a single tome, So you want to be a Game Master.


Chapter Summary

The first chapter on Dungeons covers the core concepts of running any game. Building from the smallest encounter in running a room to a full dungeon with a sample adventure. All the while supporting this with underlying philosophical ideas. Along with concrete tools and procedures for creating random encounters, running traps, or the like.

Exploring scenario design with an adaptable recipe of the 5+5 dungeon, which provides various room types to create interesting dungeons and combat encounters. Expanding on these ideas into large dungeons with simple yet interesting complications of loops, layers, and labyrinths to deliver a dynamic dungeon full of life.

The first chapter ends with multiple paths to explore in terms of well-organised chapters that will cater to many styles of play regardless of genre or game system.

Peppered through the Mysteries chapter are actionable insights, like removing empty time (or as Prof DM says the Shoe Leather), and observations for creating a mystery with his 3 clue rule and the node-based structure to support non-linear adventure design.

This chapter approaches location-based adventures for more proactive players, where the PCs will want to conduct a raid, where they will want to stack the odds in their favour. So, it covers the GM prep needed in terms of floorplans, defences, and running the raid. Heists are a more complex raid, with more steps the players will want to move through, and as a GM, you can focus your prep on the important parts. And finally, it covers which is better to run, based on your group.

The Urban Adventures chapter discusses when you should use a city. Providing tools to create, populate, and run it without overloading you as a GM. It also explores different ways of looking at dealing with downtime for individuals & factions, running urban crawls, and structuring social events. It also explores downtime, ubrancrawls (aka urban adventures), and structuring social events.

The penultimate chapter, Into the Wild, gives a counterpoint to the urban world with the wild unknown. Organising the PCs around watches and the routes they travel. This gets expanded into Hex crawls and Point crawls.

The final chapter is all the other stuff to support your games from campaigns, introducing new RPGs, running open tables, and quick worldbuilding.


Overall

Suitable for beginner Game Masters, by showing them the simplicity of running a game. Supporting the Novice GMs by expanding their repertoire of techniques with a raft of new ideas to progress towards mastery. And for the Gaming Grand Master who knows it all. It’s a handy reminder of forgotten things, a refresher to classic ideas and a reference for a fuller game. Wholeheartedly recommended for any game master’s bookshelf.

House Framing (Geo-Nodes)

Working on a House Framer using Blender’s Geometry Nodes. The goal is to have a node group that will generate all the needed geometry for the destruction of a house.

The basic frame is complete, but I’ve been staring at these nodes for too long. I’m going to step back for a bit, to research trussed roof construction and eternal cladding. Then circle back once I can get the new details working.

Geometry Node Group for a Basic House Frame

Gumroad to House Frames (Geo-Nodes)

Using Geographic Information Systems (GIS) in Blender

I am looking at the different options for getting GIS data into Blender and my perceived Pros and Cons of each.

Geographic Information Systems (GIS)

Links to different Blender Add-Ons involving the use of GIS (Geographic Information Systems) Data.

Overall, my preference is for BlenderGIS as it gives me the terrain with satellite imagery, and markers (ie cubes) for each of the buildings.

Roof Tiles in Blender

I’ve been playing with Blender’s Geometry Nodes for the last month to develop node sets for creating 3D prints and animations. Artisans of Vaul has an excellent tutorial on using geometry nodes to create Roof Tiles (See below).

Roof Tiles Using Instancing and Geometry Nodes – Designing a Fantasy Building for 3D Printing (by Artisans of Vaul)
My Adjustment to the Node Tree

The Breakdown

The only annoyance I have with the setup is the tiles sticking out over the edge. So I’ve adjusted the node tree to have a way to resize the end tiles.

In the image below, I grab the node that is the (X Tile Size + Tile Gap), then divide it by two. This gives me a half-tile size.

In the image below is the node cluster that selects the first tile of row 1, and the last tile of row 2, then repeated for each row.

In the image below the ‘Or’ (from above) to select the end tiles and scale them to 0.5 in the X direction.

Then the first tile of row 1 is moved over half a tile towards the centre, and the last tile of row 2 is moved over half a tile in the other direction.

The Blend File

An 18-month break?!?

From the midst of the storm of the last 3 years, I’ve had to pack a lot of side projects away while I focused on my job. So, a while ago I archived this website. Bring things back online it’s been 18 months since the last post.

Now, to pick up the pieces. Reorganise the parts into something coherent. Maybe a facelift. A continued imaginary exploration of the other worlds. Fantasy realms of the past, the all too near future of dystopian oligarchs, and an expanse of sci-fi stars stuck in an all too familiar pattern of human conflict.

Blender Camera-Notes

Part of moving my projects over Blender 2.83 LTS is collecting my notes on various topics, including cameras.

5 cool camera tricks in Blender 2.80, this covers some cool stuff. However, I’ll have to manual set up the cameras until isocam gets updated.

Isometric Camera

From the Isocam script:

  • The one, TrueIsocam called camera, is the mathematical correct isometric camera with the 54.736 rotation to get the 30 degrees angles at the sides of the rhombus. (54.736,0,45)
  • The other, GameIsocam called camera, is a camera with which you can render isometric tiles for a 2d game. Here we need a 60 degrees angle instead of the 54.736 one to get a proper stairs effect and a ratio of 2:1 (60,0,45)
  • Then there is the special case with a 4:3 ratio, which is button 3. You can also make 2D games with that one. The view is more topdown though as with a 2:1 ratio of the traditional game iso view. (41.5,0,45)

It’s worth noting that for TrueIsoCam, the X-Rotation Slot can be set to ( atan( sqrt(2) ) ) degrees.

Fantasy mapping

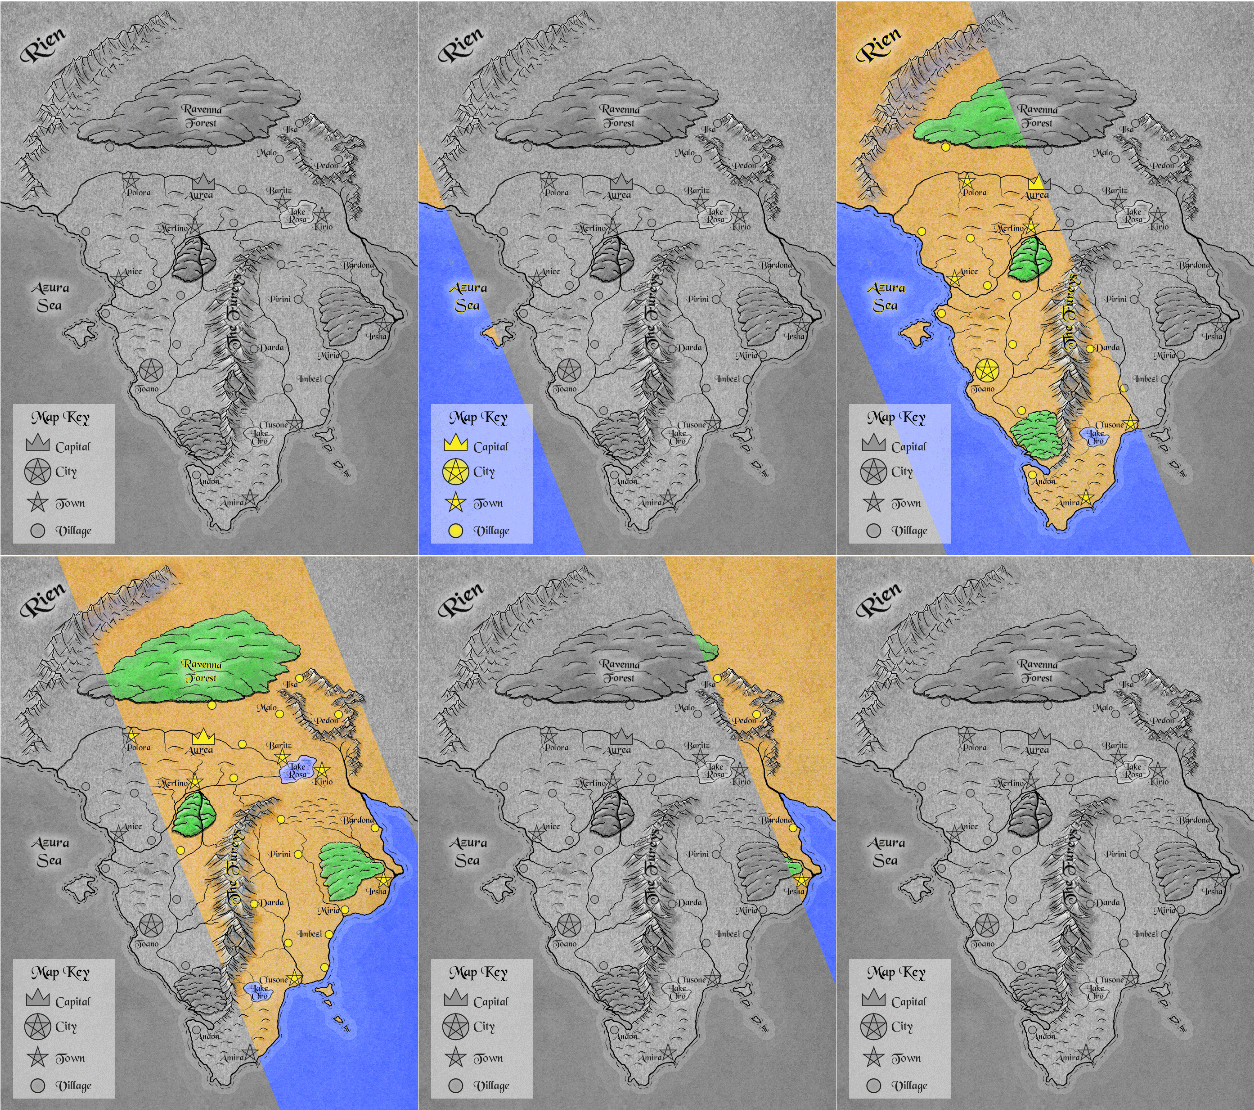
Ever since reading Tolkien as a kid, I’ve just loved the style of map that he created for Middle Earth. And this style has carried across to Fantasy RPGs. So when the opportunity came to create a map for The Tales of Tarya series, I jumped at it.

The Map of Litonya

This time I wanted to make a good quality digital copy for this project. YouTube came to the rescue with this excellent video on mapping from the Fantastic Maps Channel.

Drawing Technique

A short summary of the technique for mountains…

  • Use a CC-0 paper or parchment texture for the background layer (0).
  • Add a separate ‘lines’ Layer (4) for the mountain ridge lines and some texturing detail. Use the pressure-sensitive to control the thickness of the line
  • Add an Overlay layer (1), for the ‘Light & Shade’ on the mountain ranges. Use the pressure sensitivity to control the darkness.
    • Start by blocking out the shading of the dark side of the mountain range. Take your time to build up layers of darkness.
    • Add shadows to the light side for the ridges and valleys.
    • As you go reduce size to add more detail.
  • Another Overlay layer (2), for the ‘Light/Shade Detail’, but this time using the pressure sensitive to control line thickness.
    • Then switch to a white brush to add highlights to the light side, with the peaks being the brightest.
  • Now, a Color Layer (3), to add the colour details to the mountains.
    • Using a hard round brush set to a middle grey for bare stone, deep emerald green for Amazonian forest, or red for the Arizona badlands.

Combine that into a group I then proceeded to do the same for the coastline, hills, forests, rivers, cities/towns, and labels. So about 20 layers all up.