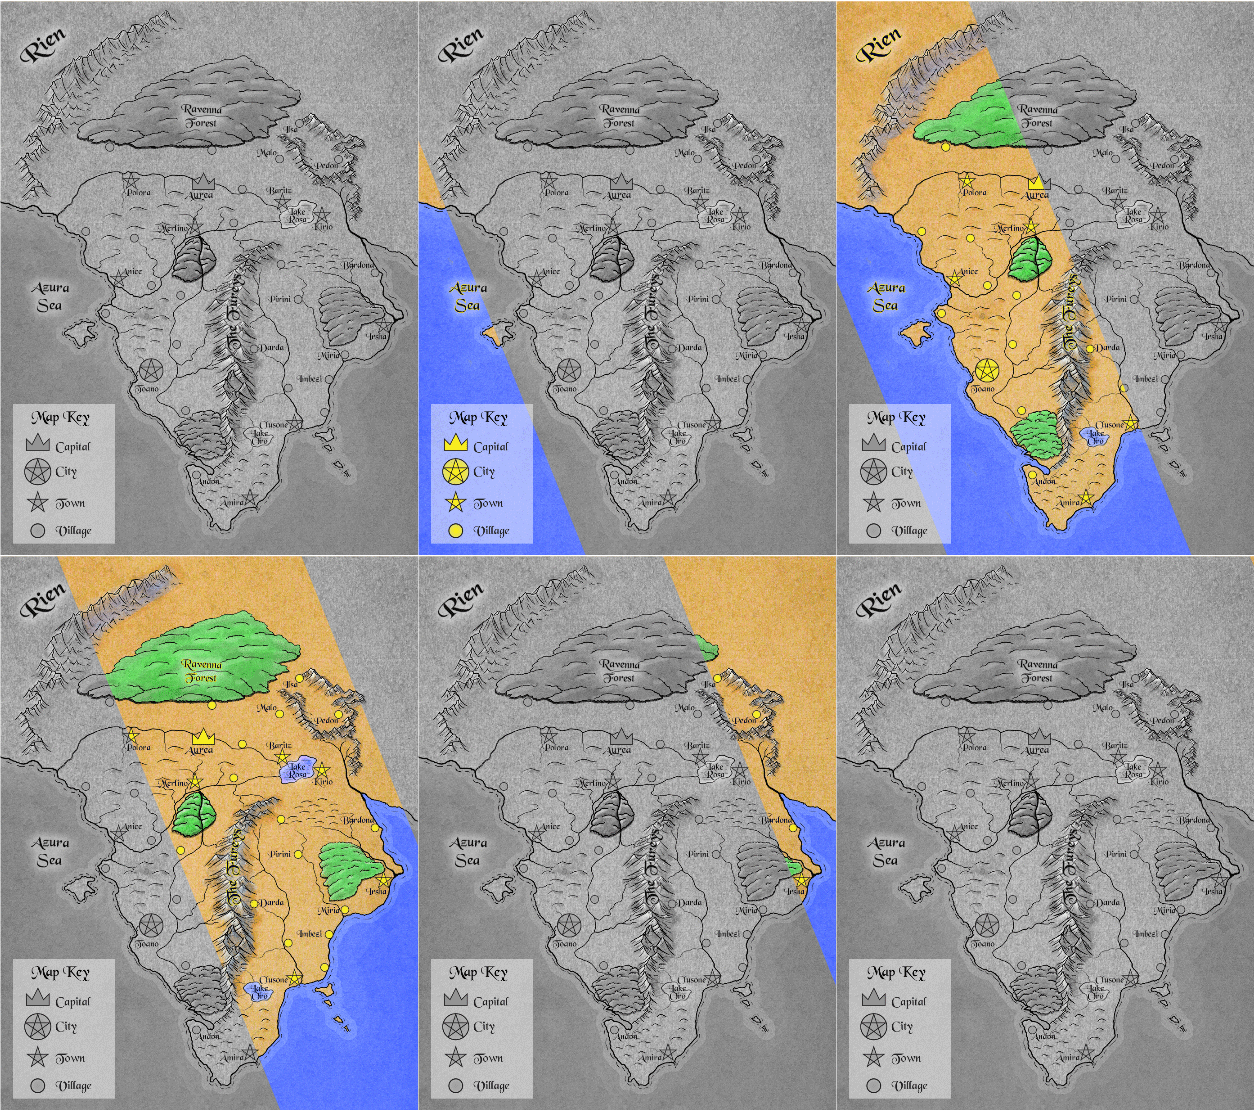
Ever since reading Tolkien as a kid, I’ve just loved the style of map that he created for Middle Earth. And this style has carried across to Fantasy RPGs. So when the opportunity came to create a map for The Tales of Tarya series, I jumped at it.

This time I wanted to make a good quality digital copy for this project. YouTube came to the rescue with this excellent video on mapping from the Fantastic Maps Channel.
Drawing Technique
A short summary of the technique for mountains…
- Use a CC-0 paper or parchment texture for the background layer (0).
- Add a separate ‘lines’ Layer (4) for the mountain ridge lines and some texturing detail. Use the pressure-sensitive to control the thickness of the line
- Add an Overlay layer (1), for the ‘Light & Shade’ on the mountain ranges. Use the pressure sensitivity to control the darkness.
- Start by blocking out the shading of the dark side of the mountain range. Take your time to build up layers of darkness.
- Add shadows to the light side for the ridges and valleys.
- As you go reduce size to add more detail.
- Another Overlay layer (2), for the ‘Light/Shade Detail’, but this time using the pressure sensitive to control line thickness.
- Then switch to a white brush to add highlights to the light side, with the peaks being the brightest.
- Now, a Color Layer (3), to add the colour details to the mountains.
- Using a hard round brush set to a middle grey for bare stone, deep emerald green for Amazonian forest, or red for the Arizona badlands.
Combine that into a group I then proceeded to do the same for the coastline, hills, forests, rivers, cities/towns, and labels. So about 20 layers all up.